What Are LED Strip Lights?
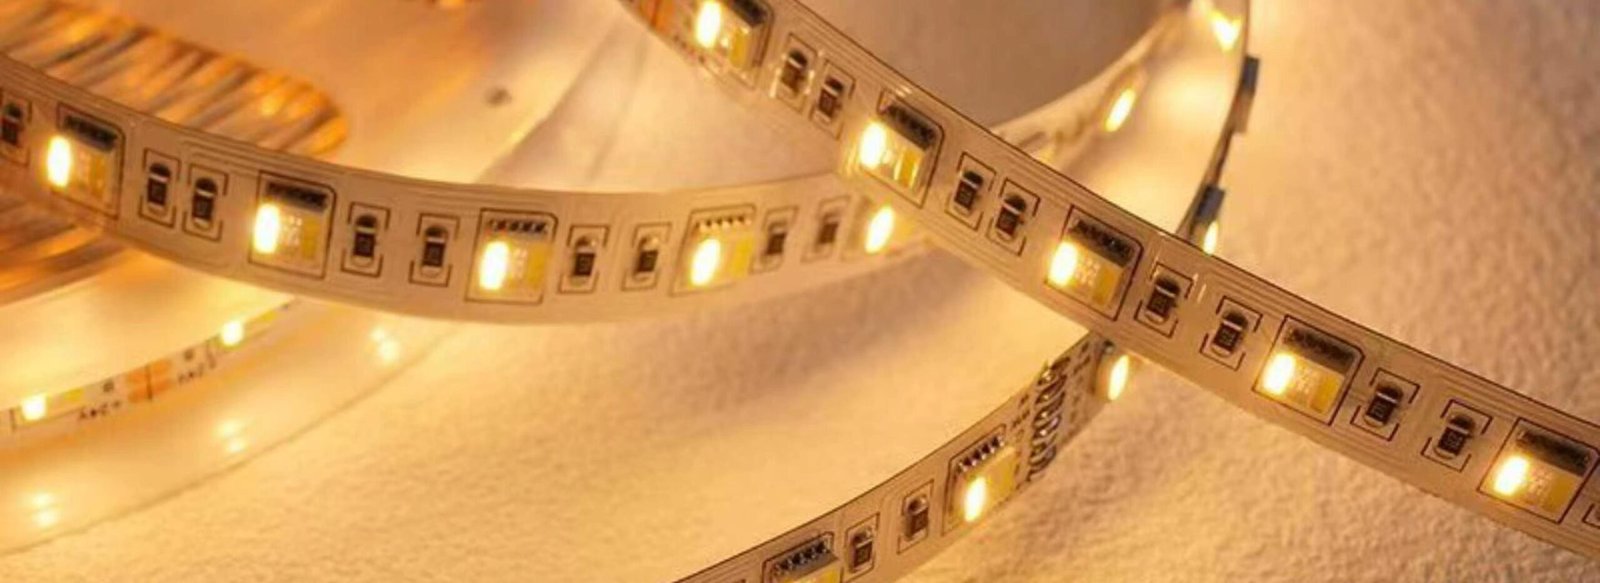
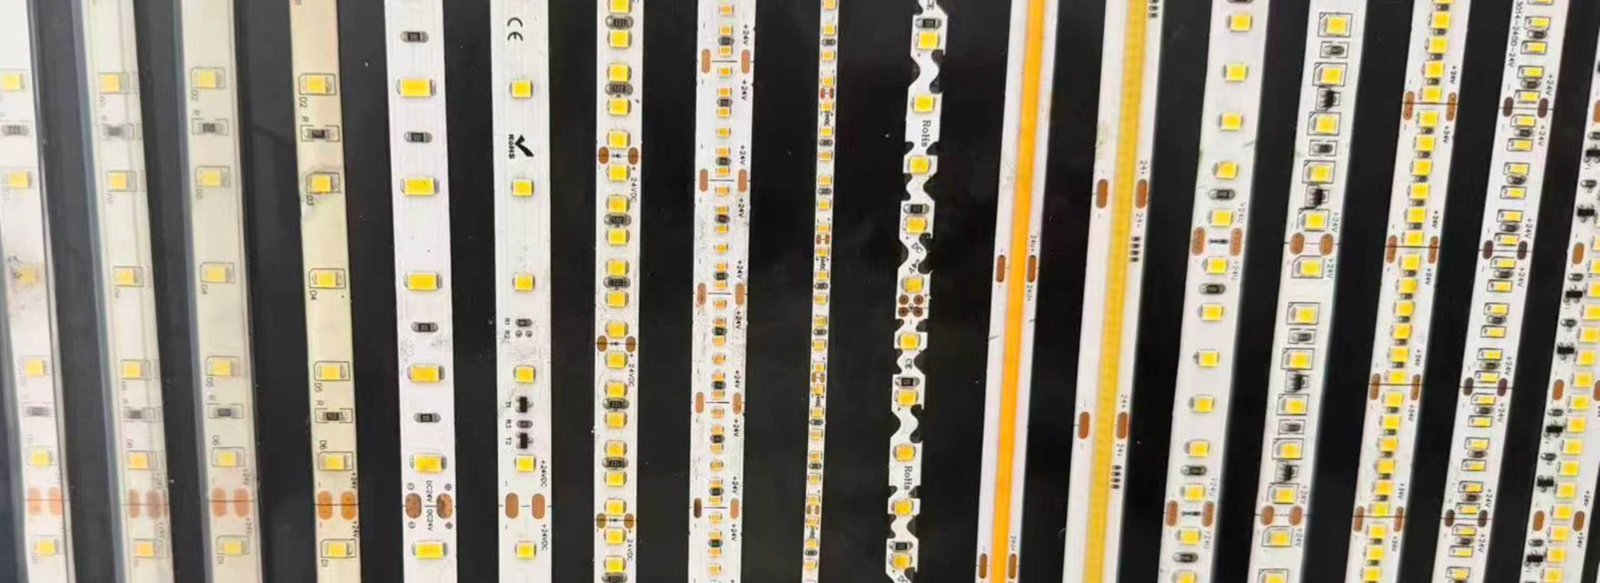
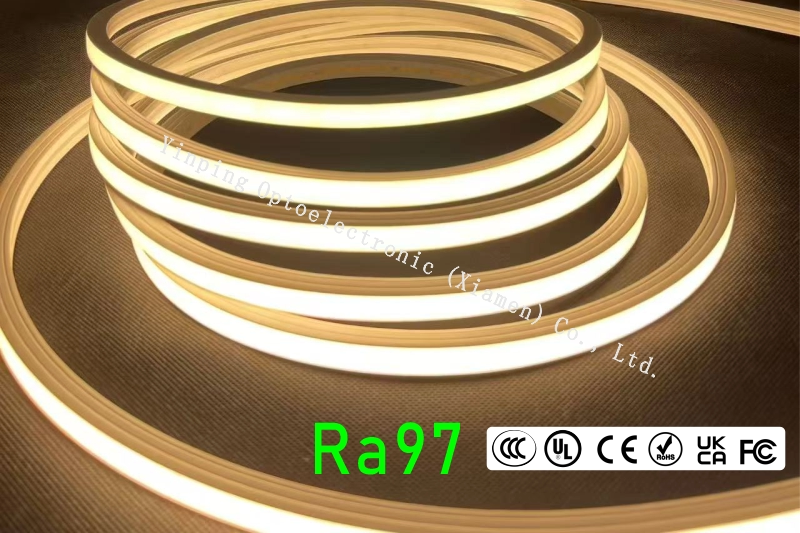
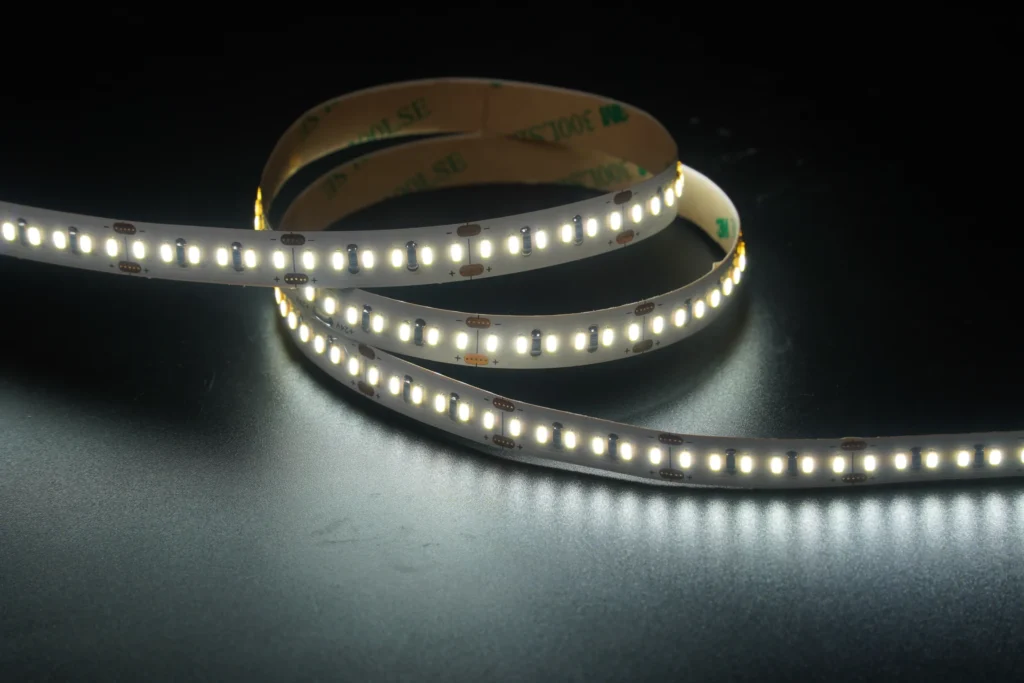
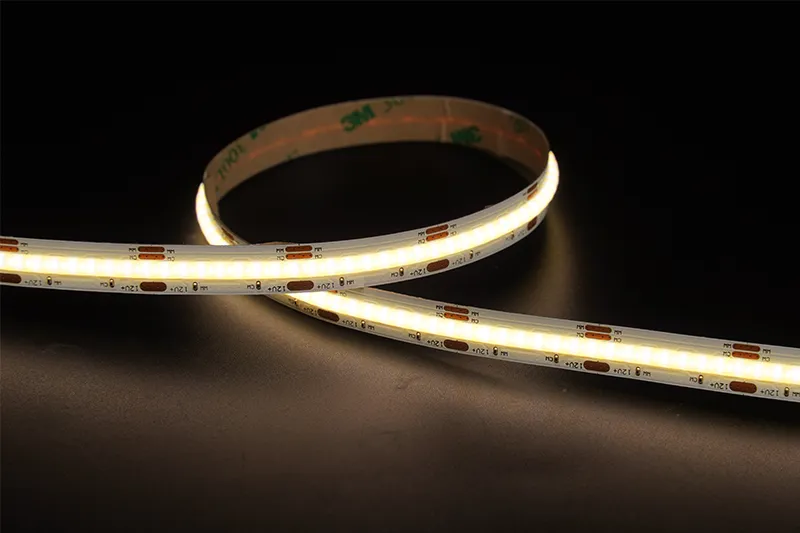
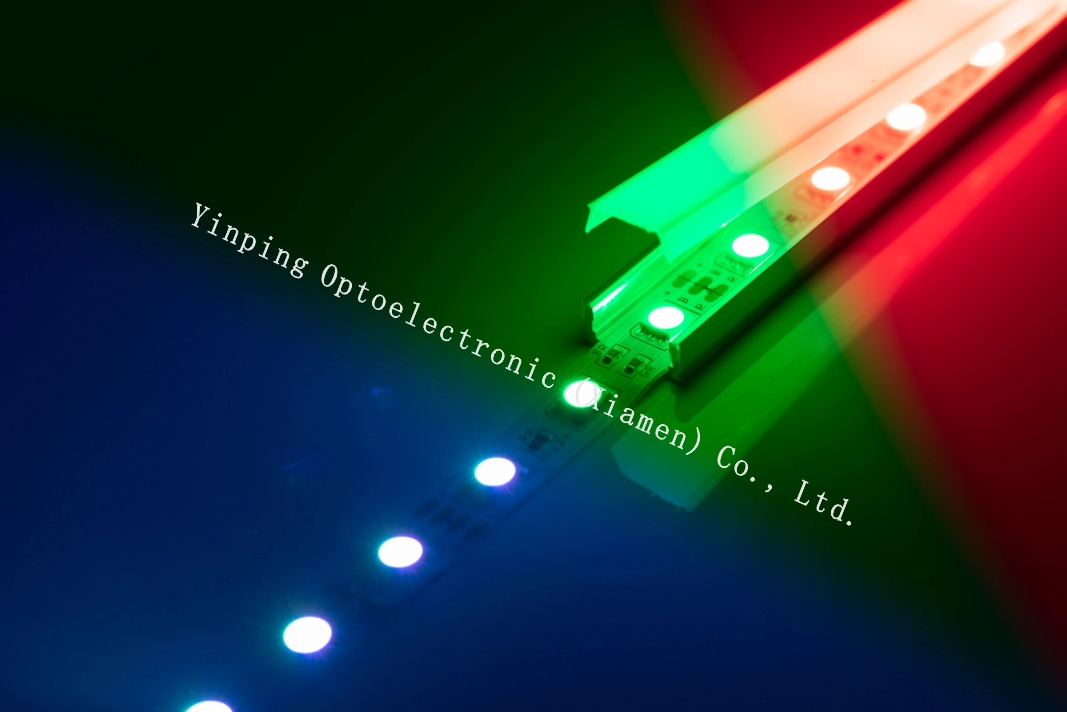
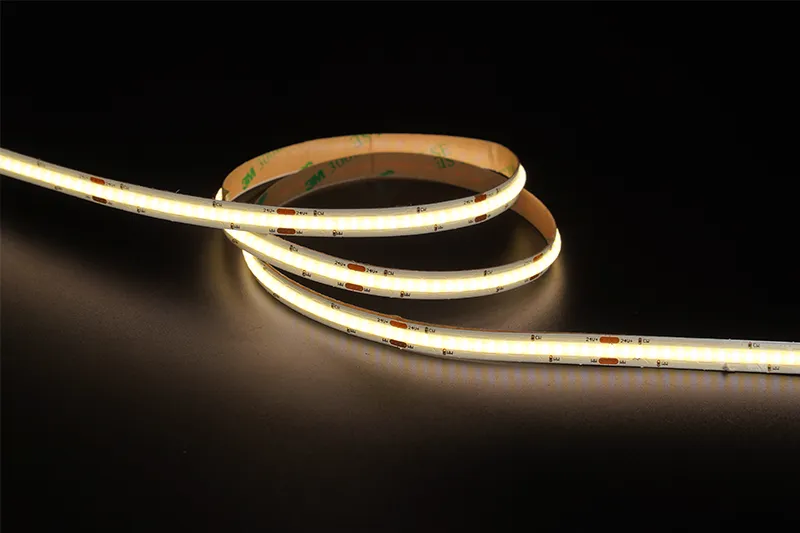
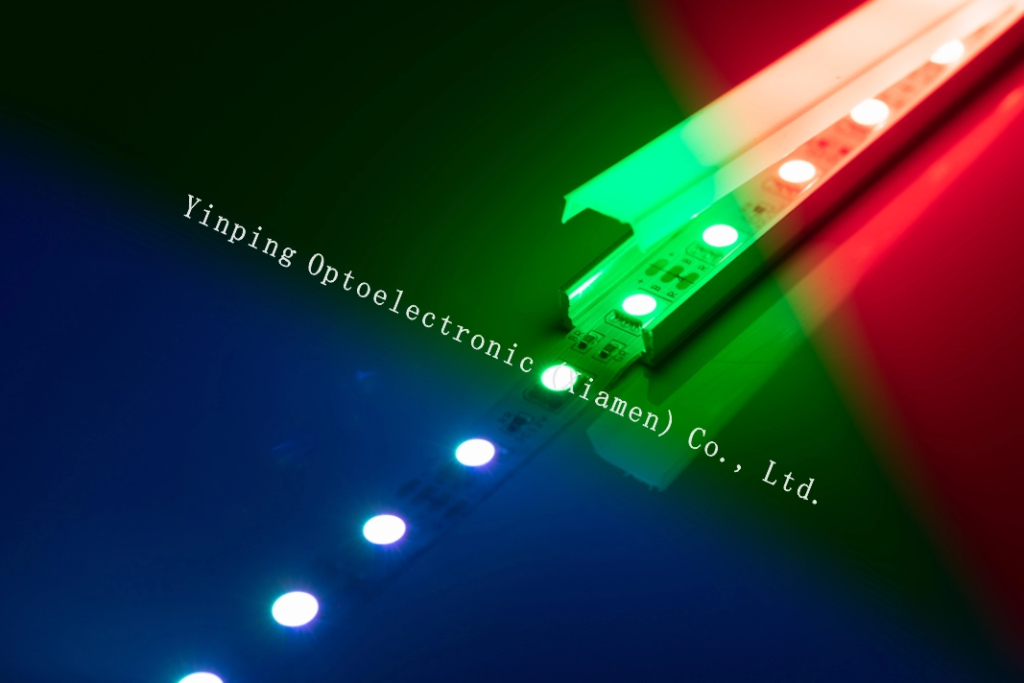
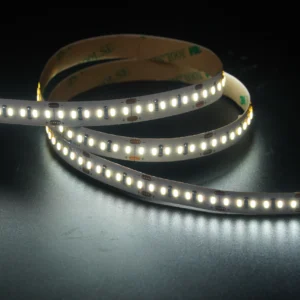
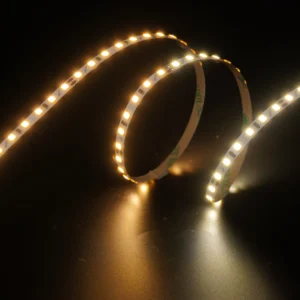
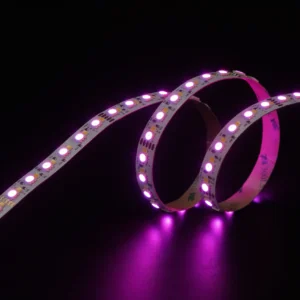
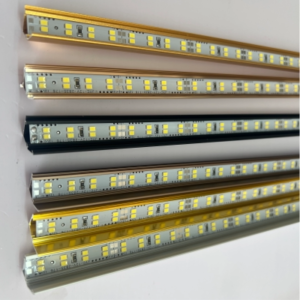
LED strip lights are versatile lighting solutions that can be cut and connected for a variety of applications. These lights either feature SMD (surface mount device) chips, which are individually mounted on the PCBs (printed circuit boards), or use COB (chip-on-board) technology, which emits a continuous line without the dots.
Can You Cut LED Strip Lights?
Yes! LED Strip lights are often manufactured with cut lines along the strips. These lines are indicated by copper pads or by a dotted line. The measurement between cut lines can vary by strip type and length. Please only cut the strip when it is unplugged and at a designated cut point. Cutting the strip while plugged in or powered on can cause an injury. Cutting the strip where no cut point is designated can damage the strip.
How Do You Cut LED Strip Lights?
Each strip is different, so check the product specifications before cutting. Measure the length of your application to verify how long you need your strip to be. Use the cut points nearest to the length and use scissors to cut once you’ve unplugged the strip. Our blog “How to Cut LED Strip Lights” has basic instructions with photos for guidance.
How Do I Install LED Strip Lights?
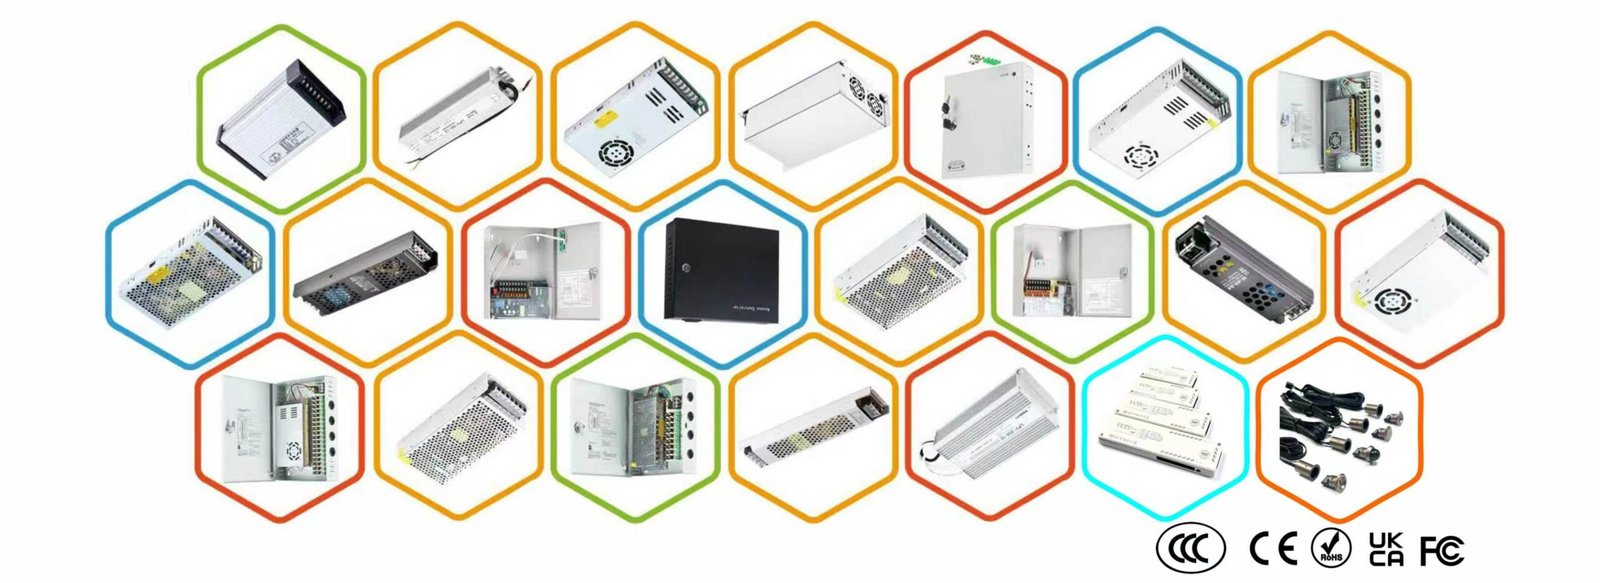
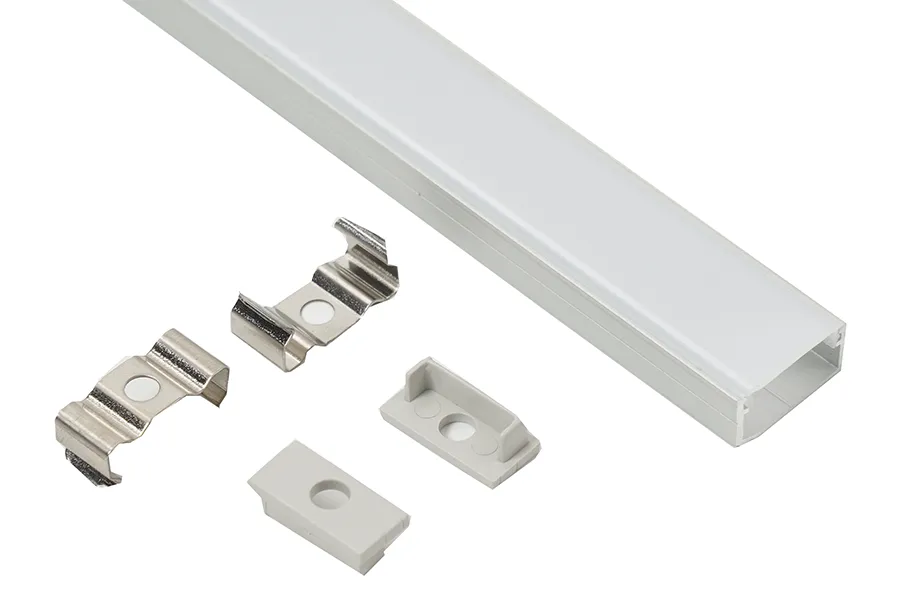
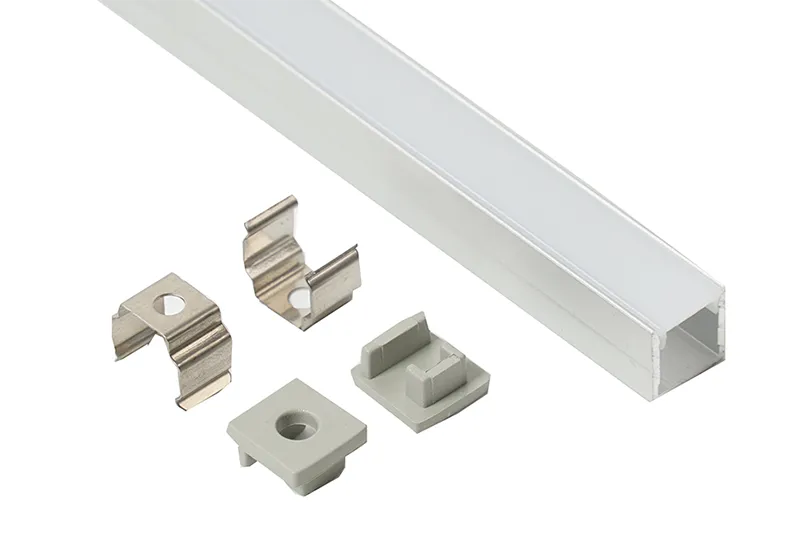
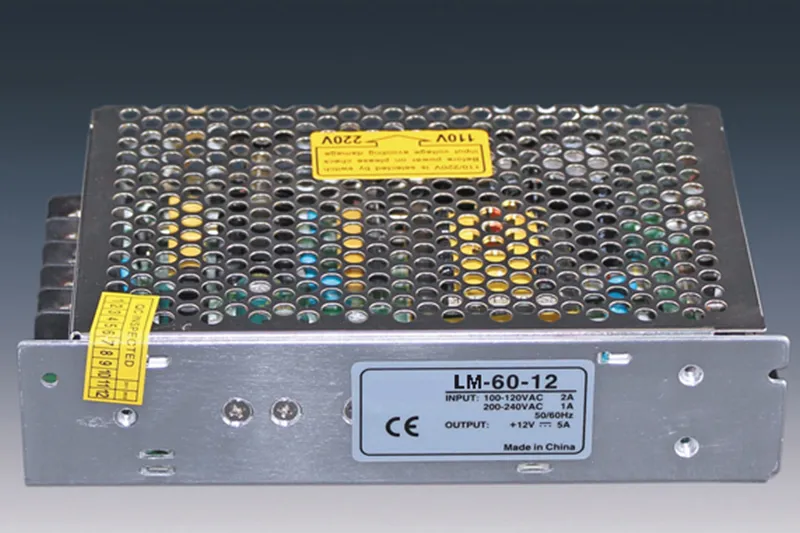
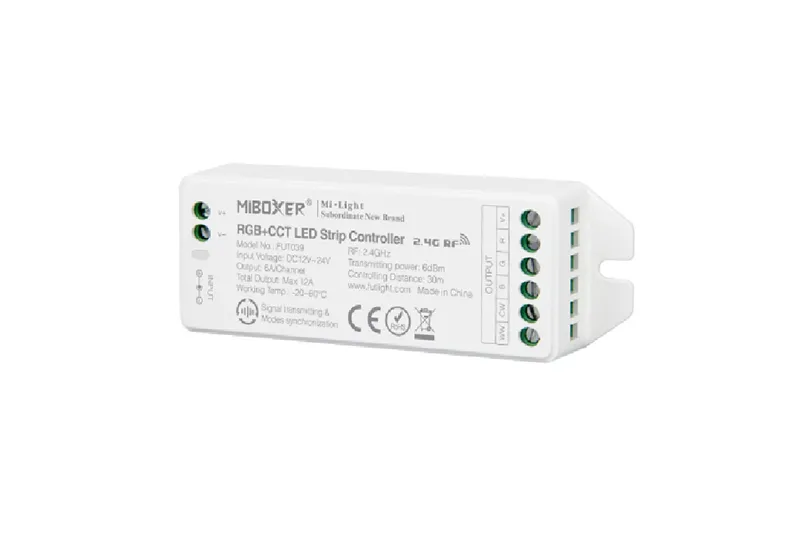
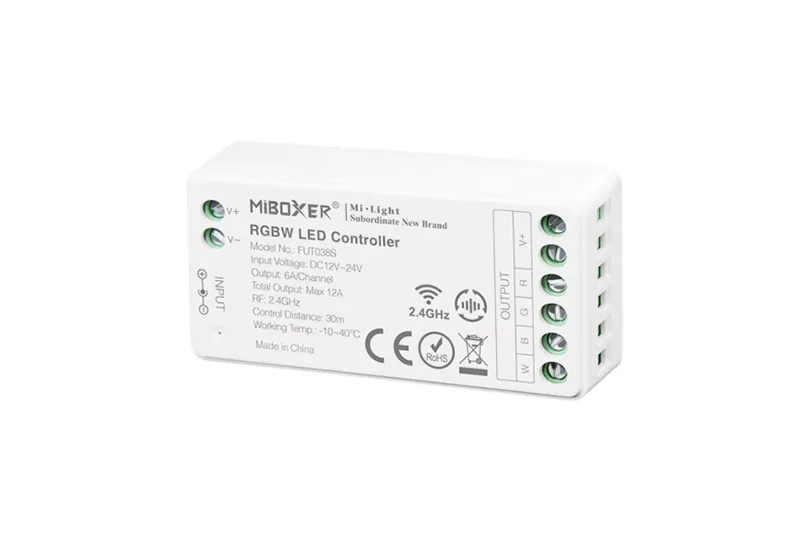
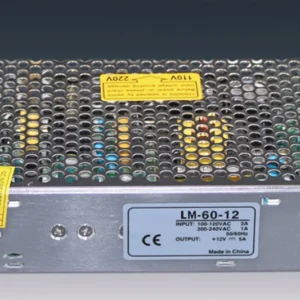
To install LED strip lights, measure the installation area and select the appropriate strip type, power supply, and any necessary controllers. Gather materials such as mounting clips, adhesives, and connectors. If needed, cut the strip at designated points and ensure proper wiring. Refer to this blog for assistance “Choosing A Controller, Dimmer, & Power Supply for LED Strip Lights”.
Connect the strip to the power supply, ensuring correct polarity, and attach any controllers if applicable. Clean the mounting surface before securing the strip using adhesive or clips for stability. Once installed, power on the strip to test functionality, adjust brightness or color settings, and secure any loose connections for a clean and professional finish.
How Do I Connect LED Strip Lights?
To connect LED strip lights, determine the power requirements and ensure the power supply matches the strip’s voltage. If needed, cut the strip at marked cut points, then attach connectors or solder wires to the copper pads, ensuring correct polarity (+ to +, – to -). Connectors and soldered wires can extend the length while considering the voltage drop over long distances. Check out the specific product’s specification table to find the maximum run for that strip light.